If you have seen the “Back to Eden” video, you might be rethinking the way in which you garden. I know it opened my eyes to the value of wood chips and mulch, especially wood chips.
For those of us who garden, you know one of our biggest problems are weeds and grass strangling the life blood out of our gardens, and the energy out of us as we try to keep them under control. Oh, I know some may be saying, “Just go get some Roundup and that will solve the weed and grass problem.”
And you would be right. However, the problems it solves are more than offset by the problems it creates. But, that’s an article for another time.
After watching the “Back to Eden” video, I was convinced that this was the answer to our weed problem for our new enclosed, raised bed garden (future article forth-coming). However, finding the solution created an even bigger problem. Where to obtain large quantities of wood chips, without breaking the bank?
After several months of looking, I finally found the answer! It was here all the time.
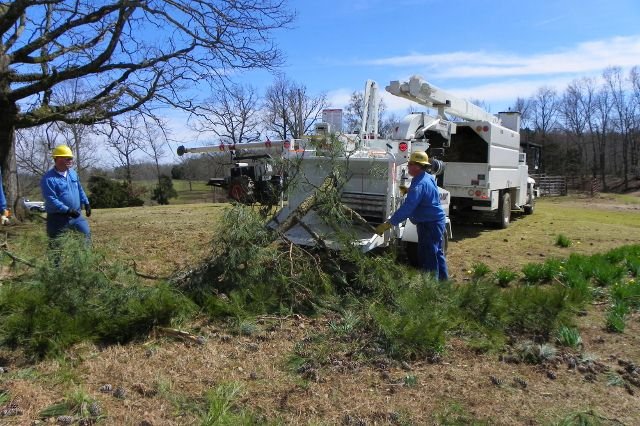
We live in a rural portion of the Mid-South, and our county is served by a local Electrical Co-Op. One of their big problems is maintaining their power line right of ways. They have two crews that cut, trim, and chip trees and limbs all year. Recently I was driving home and observed one of the crews in action. I was so fascinated by what I saw. I pulled over to the side of the road and watched for a while. When they took a break, I walked over and started asking questions about their operation.

Their odd looking piece of equipment is called a Sky Trim, which has a large skill saw type blade on the end of the long poll, and will reach 75 ft. vertically, and rotate 33 degrees to either side. I saw it in action, and believe me, it can do some trimming.
As we continued our conversation, I asked them, “What do you do with all those wood chips?”
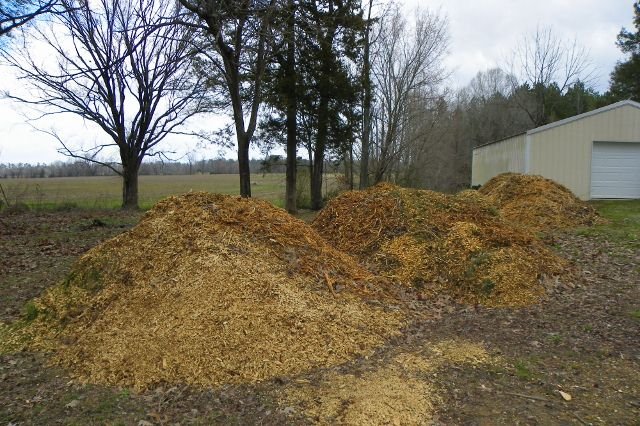
The foreman told me “We’re always looking for places to dump them. On a good day we may fill as many as 5-10 truck loads.” The light bulb came on.
I asked what did they charge for the chips, and the answer was, “Nothing, nada, free! Just show us where you want them, and if we can get our equipment where you want them dumped, we will deliver them to you for free.” He said they would even drive 3-5 mile sometimes looking for places to dump the chips.
Wow! I had been looking and looking, and the answer was there all the time.
We have since made friends with the crews, and now have wood chips delivered almost to our door steps. They have brought numerous loads to me and to my brother-in law as well. They told us when things dried up a little they would bring us all the chips we wanted. We have a 3 acre orchard already picked out.
These crews really work hard and the work is dangerous. After storms they really earn their money. They told me so many people are impatient and just plain rude; all they want is their power back on, the first thing they ask is, what took you so long? Those people didn’t realize that the crew may have been working all night, in the wind and rain, and sometimes ice and snow.
The point I am laboring with is this: Show these guys a little respect and kindness, and they will bend over backwards to help you whenever they can.
The crew you see are cutting a few extra trees near the power line that we wanted cut down.
If you don’t live in a rural area, get to know the tree trimming services in your area, they may be willing to give you the same deal. You never know, till you ask!
